I made this photoset to reassure a friend the other day, but it may as well also be shared with the internet at large! A small batch of the absolute plainest apricot jam is a fun project to break up a weekend—it only takes a little bit of attention each day, and the result is delicious and fresh-tasting and tart and intensely apricot-flavoured. You will need apricots, sugar, and lemons.

1. First find some apricots! A little underripe is best; ripe is adequate though not ideal; overripe is not worth the trouble.
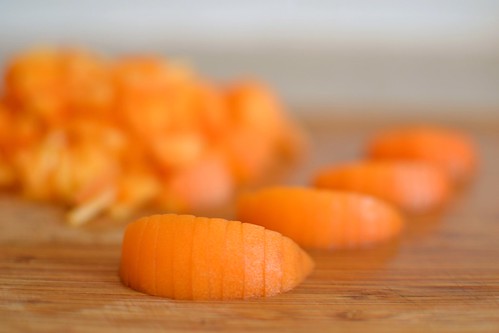
2. Wash them thoroughly and chop them as you desire. I cut mine into lengthwise eighths and then into wedges about 1/8" thick. If you are troubled by apricot skins, you can blanch the fruit and peel it first; I find them soft enough that I don't notice their presence in the finished jam.
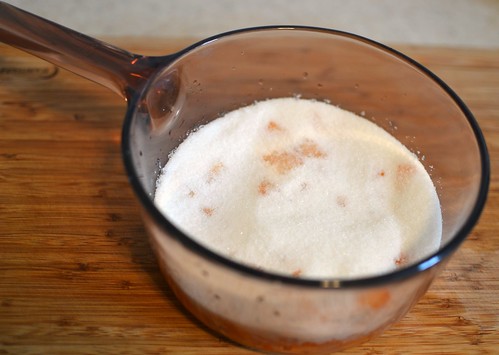
3. Measure the volume of chopped fruit. Add to it the juice (& optionally the zest) of one lemon per cup of fruit, and three-quarters of the fruit's volume in sugar.
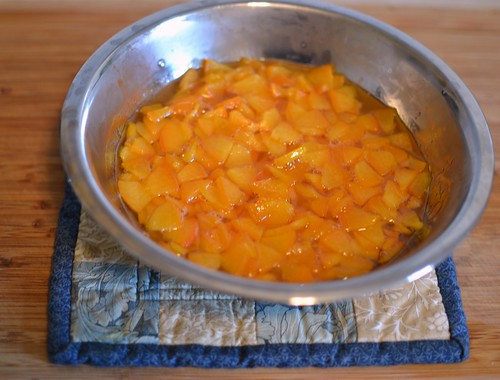
4. Heat the fruit-and-sugar mixture gently until it just barely reaches a boil—the combination of heat and sugar will draw out a lot of liquid. Remove it from the heat, cover, and let it rest in the fridge for at least six hours and up to 48.
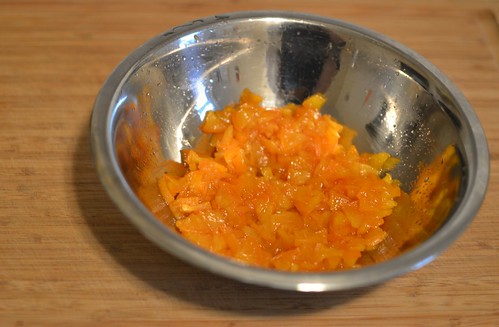
5. After its rest in the fridge, strain the chunks of fruit out of the thick golden syrup that's developed, and remove them to a bowl. Pour the syrup into a pot and put it back on the heat. Bring to a full boil and keep it there until...
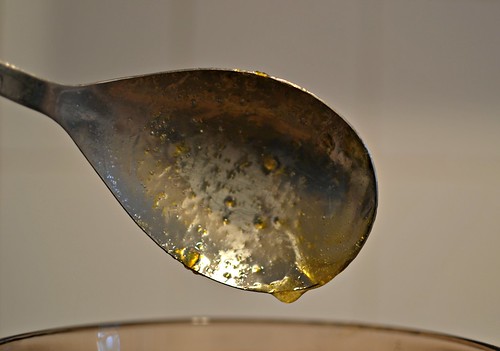
6. ... the syrup has reached its gelling point, 4° C above boiling. Check this without a thermometer by dipping a spoon into it and watching how the syrup drips off. The syrup is done when it sheets off the spoon, pictured above—the drops will be thick and slow-moving, clinging to each other and the spoon. Add the strained fruit back to the syrup, return to a boil, and cook for five more minutes.
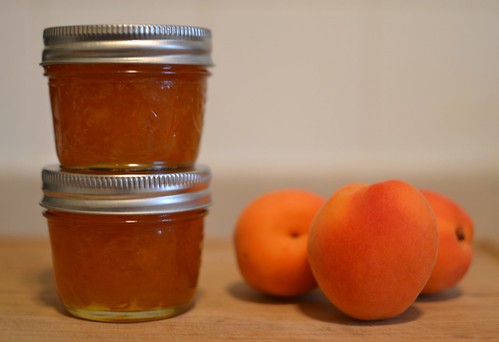
7. Transfer the jam to sterilized jars and process them in a boiling water bath following these directions. Or just pour it into a clean jar and keep it in the fridge if you plan to eat it in the next few months.
3 comments:
Thanks- this sounds like a great way to keep the apricots from turning to mush! I'll definitely be trying it next summer!
ooh, thanks for the link and for the tutorial! i must try this some time.
Thank you for providing such a valuable information and thanks for sharing this matter.
Post a Comment