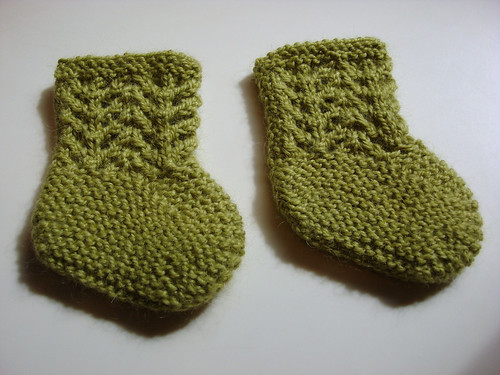
I knew that if I waited long enough, it would be mitten season again.
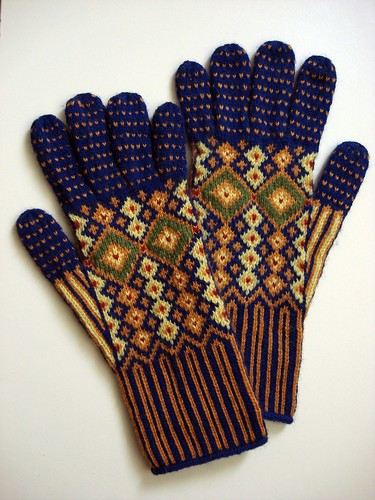
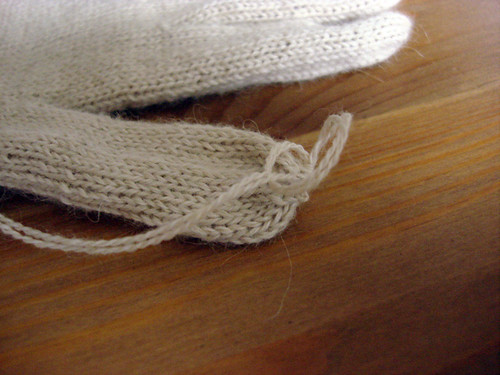
These mittens are the first cousins of
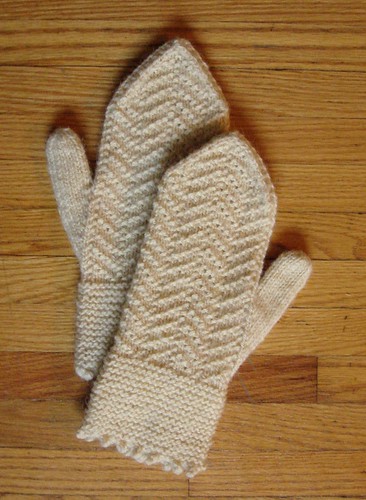
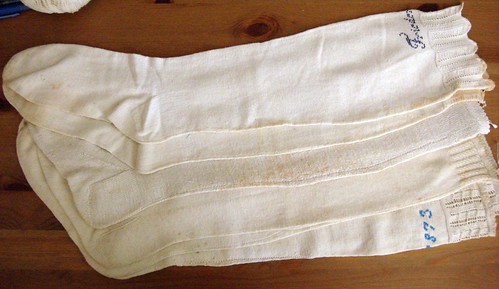
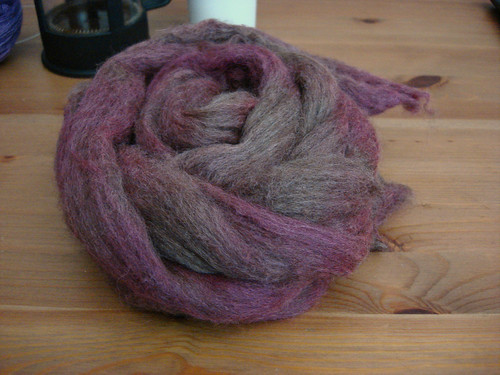
these ones; I even used the same yarn, Cotswold wool from Lange's Rock Farm in Nova Scotia. Their namesake is the community where the quarry is.
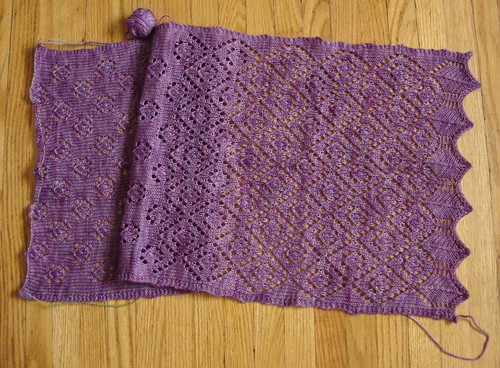
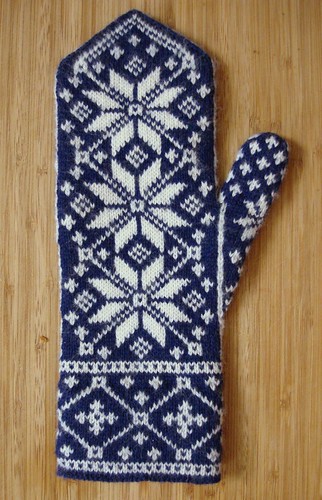
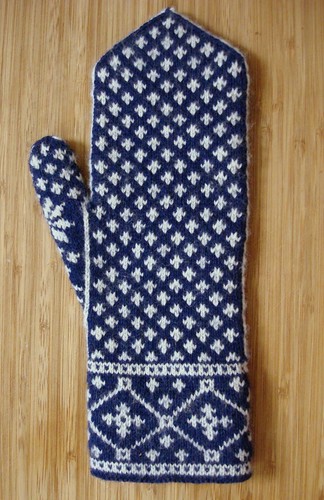
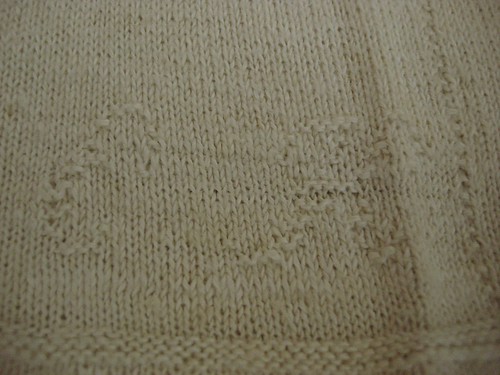
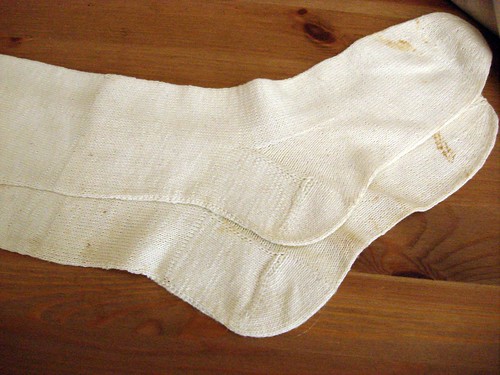
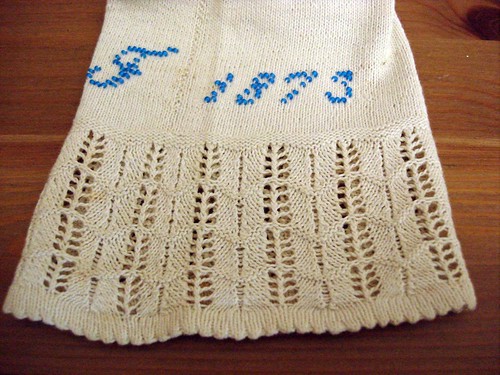
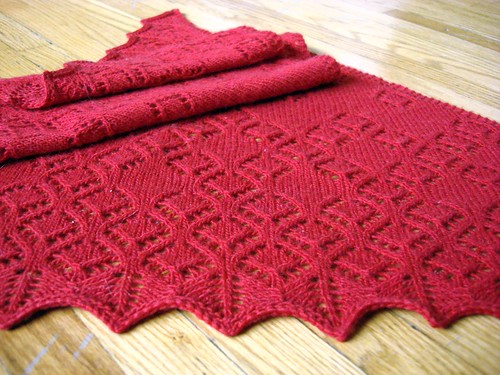
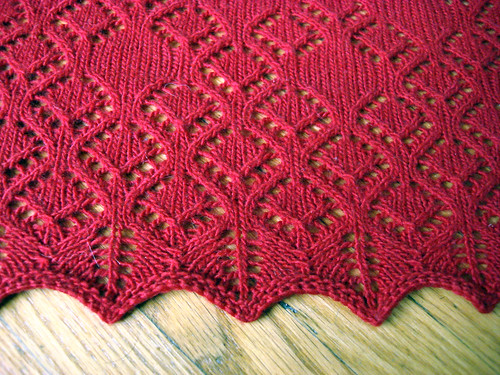
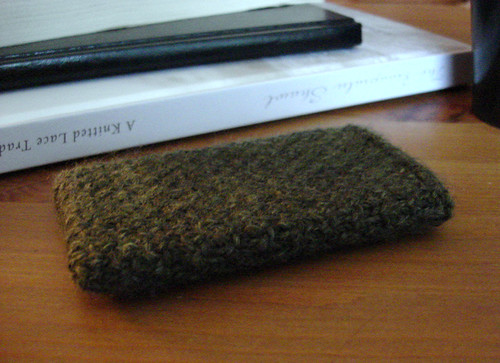
They have wide and cozy garter stitch cuffs and a chevron pattern over the back of the hand, with a single garter stitch at each side. The palms and thumbs are kept in stockinette for fast and easy knitting. For best effect, choose a crisp worsted-weight wool yarn.
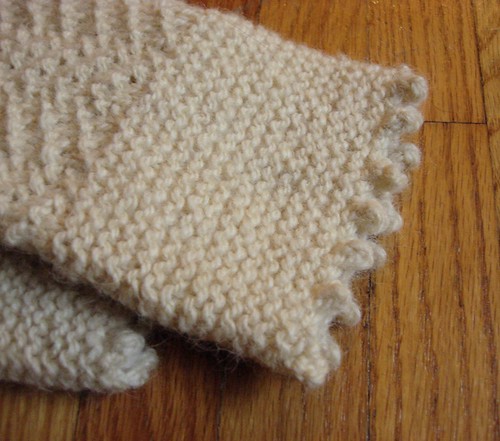
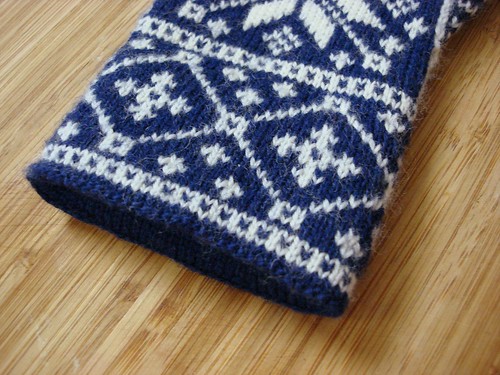
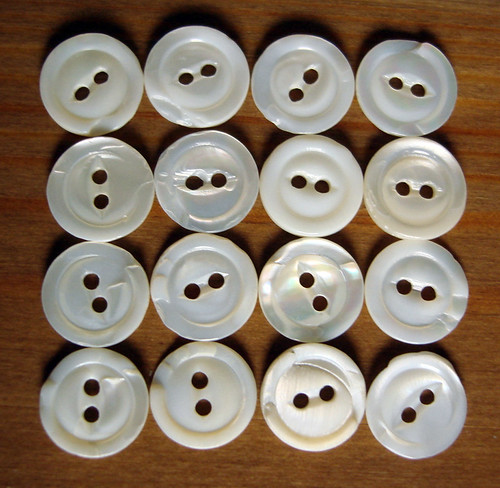
I think the exaggerated picots that edge the cuff give these mittens a very faintly feminine air. (I also think that using "delicate" techniques with hearty, sturdy yarn is
hilarious, like an elephant in a tutu. Anyway.) They could just as easily be omitted; if you don't want picot edging, just CO 40 sts using whatever method you prefer.
Gauge20 stitches and 30 rounds = 4" in stockinette
Finished size8" in diameter, and 11" from cuff to tip
Skills required- casting on with the cable and backwards loop methods
- knitting and purling
- increasing with m1
- decreasing with k2tog, ssk, and sk2p
- knitting in the round
- picking up and knitting stitches
- binding off
Yarn and notions- Lange's Rock Farm Cotswold Wool (100% Cotswold wool; 200m per 4oz skein); 1 skein in cream
- set of 5 US #6/4mm double-pointed needles
- scrap of yarn or stitch holder
- stitch markers
- tapestry needle
Charts and written directionsA key to the charts:
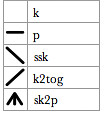 Hand
Hand
Round 1: P1, k3, p1, k1, p1, k3, p1, k3, p1, k1, p1, k3, p1.
Round 2: K3, p1, k1, p1, k1, p1, k5, p1, k1, p1, k1, p1, k3.
Round 3: P1, k1, p1, k5, p1, k1, p1, k1, p1, k5, p1, k1, p1.
Round 4: K1, p1, k3, p1, k3, p1, k1, p1, k3, p1, k3, p1, k1.
Repeat rounds 1-4 for patt.
Tip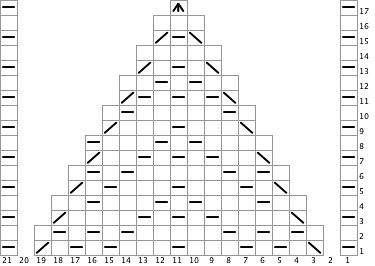
Round 1: P1, ssk, k1, p1, k1, p1, k3, p1, k3, p1, k1, p1, k1, k2tog, p1.
Round 2: K2, p1, k1, p1, k1, p1, k5, p1, k1, p1, k1, p1, k2.
Round 3: P1, ssk, k4, p1, k1, p1, k1, p1, k4, k2tog, p1.
Round 4: K3, p1, k3, p1, k1, p1, k3, p1, k3.
Round 5: P1, ssk, k1, p1, k3, p1, k3, p1, k1, k2tog, p1.
Round 6: K2, p1, k1, p1, k5, p1, k1, p1, k2.
Round 7: P1, ssk, k2, p1, k1, p1, k1, p1, k2, k2tog, p1.
Round 8: K5, p1, k1, p1, k3, p1, k1.
Round 9: P1, ssk, k3, p1, k3, k2tog, p1.
Round 10: K2, p1, k5, p1, k2.
Round 11: P1, ssk, p1, k1, p1, k1, p1, k2tog, p1.
Round 12: K3, p1, k1, p1, k3.
Round 13: P1, ssk, k1, p1, k1, k2tog, p1.
Round 14: K7.
Round 15: P1, ssk, p1, k2tog, p1.
Round 16: K5.
Round 17: P1, sk2p, p1.
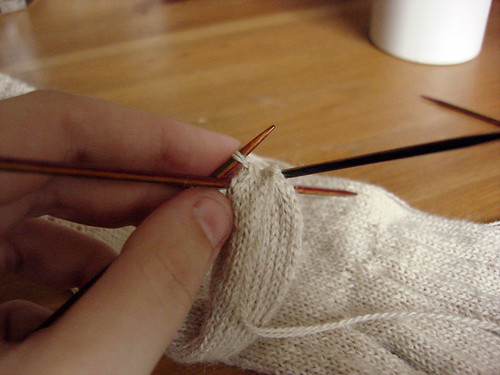
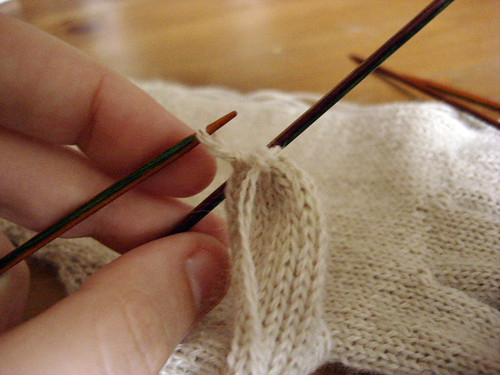
Right mittenCuff(CO 5 sts using the cable cast-on method, BO 2 sts, transfer stitch on right needle back to left needle) 13 times, CO 1 st. 40 sts cast on.
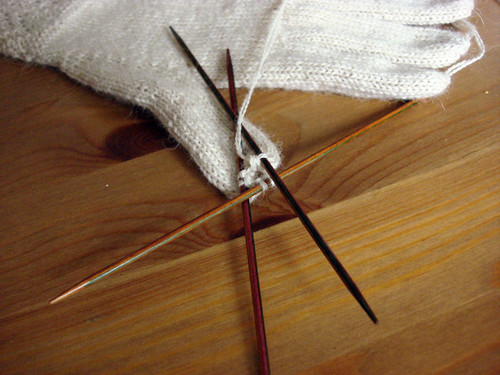
Turn work so that wrong side of CO is facing—this will become the right side of the work. Divide sts between needles for working in the round, and join. Mark or note beginning of round.
Next round: K.
Next round: P.
Repeat previous two rounds 12 more times, then knit one additional round.
Next round: Work Hand patt over first 21 sts of round; k remaining 19 sts.
Continue as established until one 4-round repeat of Hand patt has been worked.
Thumb GussetNext round: Work across back of hand in established patt, k1, place marker, m1, k1, m1, place marker, k to end of round.
Next round: Work across back of hand in patt, k to end of round.
Next round: Work across back of hand in patt, k to end of round.
Next round: Work across back of hand in patt, k1, slip marker, m1, k to next marker, m1, slip marker, k to end of round. 2 sts increased.
Repeat previous 3 rounds until there are 13 sts between the gusset markers. Work two more rounds even, without increases.
Next round: Work across first 21 sts in patt, k1, remove marker, slip next 13 sts to a holder or scrap of yarn, remove second marker, CO 1 st using the backwards loop method, k to end of round.
HandNext round: Work across first 21 sts in established patt, k to end of round.
Continue as established until the mitten is just long enough to cover the tip of the recipient's little finger. End on round 4 of patt.
Next round: Work Tip patt over the back of the hand; ssk, k to last 2 sts of round, k2tog.
Next round: Work Tip patt over the back of the hand; k to end of round.
Repeat the previous 2 rounds until every round but the last of Tip patt are completed, and 8 sts remain.
Next round: Work round 17 of Tip patt, sk2p. 4 sts remain.
Break yarn, thread it through the remaining sts, pull it tight, and fasten off.
ThumbTransfer held thumb sts to needles. Attach yarn and k across these 13 sts, then pick up and k 3 sts across the edge of the hand—16 sts.
Next round: K to last 3 sts, sk2p. 14 sts remain.
K every round until the thumb is the desired finished length.
Next round: (K1, k2tog) to last 2 sts, k2.
Next round: K2tog around.
Break yarn, thread it through the remaining sts, pull it tight, and fasten off.
Left mittenWork Cuff section as for right mitten.
Thumb GussetNext round: Work across first 21 sts in established patt, k to last 2 sts of round, place marker, m1, k1, m1, place marker, k1.
Next round: Work across first 21 sts in patt, k to end of round.
Next round: Work across first 21 sts in patt, k to end of round.
Work across first 21 sts in patt, k to first marker, slip marker, m1, k to next marker, m1, slip marker, k1. 2 sts increased.
Repeat previous three rounds until there are 13 sts between the gusset markers. Work two more rounds even, without increases.
Next round: Work across first 21 sts in patt, k to first gusset marker, remove marker, slip next 13 sts to a holder or scrap of yarn, remove second marker, CO 1 st using the backwards loop method, k1.
Complete as for right mitten.
FinishingWeave in all ends, but don't cut them off yet. Use the end at the base of each thumb to mend any holes in this area if necessary. Block mittens by soaking them in lukewarm water, squeezing out excess water in a towel, and laying flat to dry. When mittens are completely dry, cut off the woven-in ends.


